8.14 笔记
思维导图
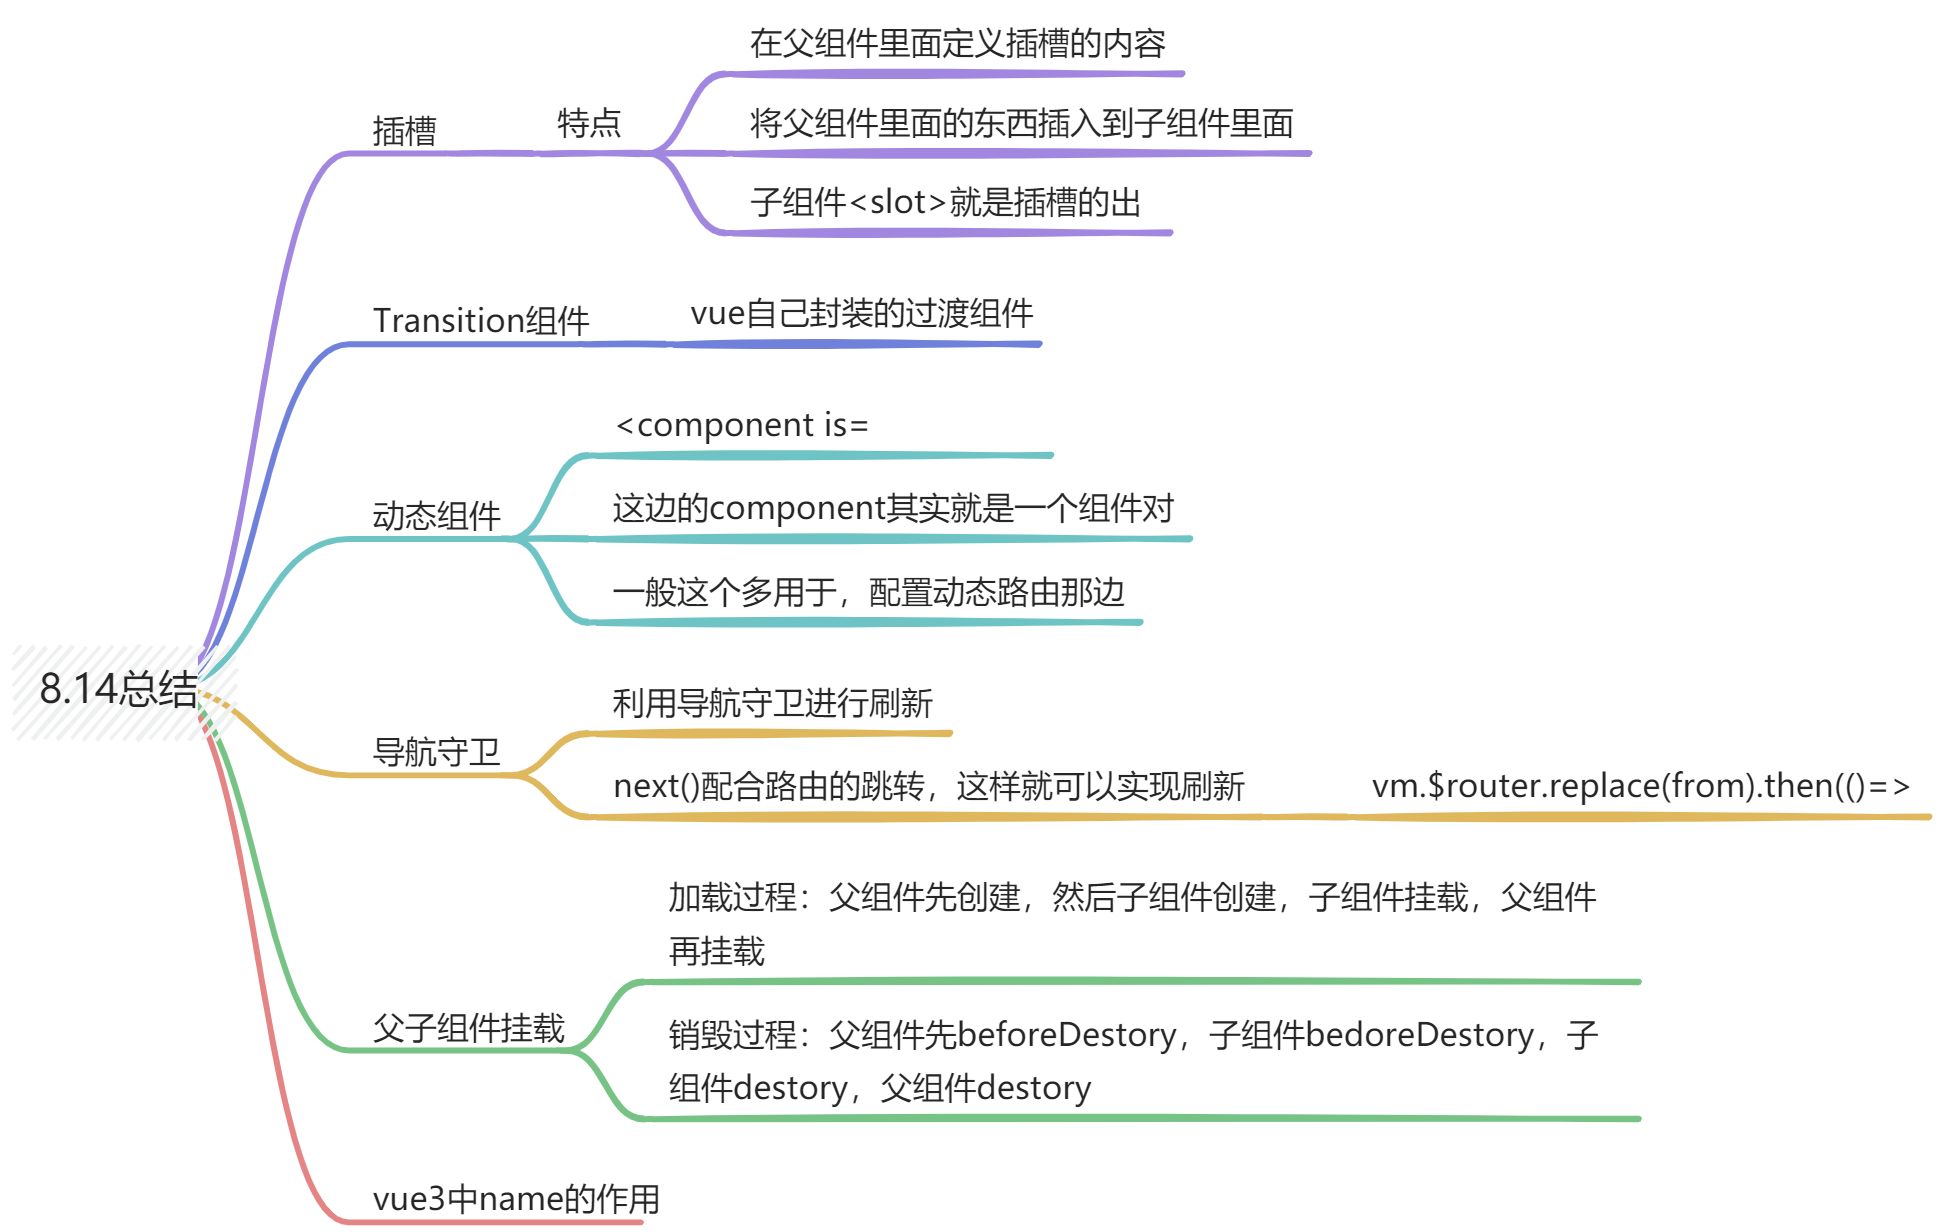
用思维导图,结构化记录本书的核心观点。
笔记
知识点1 插槽
- 插槽内容可以访问到父组件的数据作用域,但是不可以访问到子组件的状态,因为插槽内容本身是在父组件模板中定义的。
- 将父组件的内容放到子组件里面去展示 3.
<slot>元素是一个插槽出口 (slot outlet),标示了父元素提供的插槽内容 (slot content) 将在哪里被渲染。
vue
<script setup>
import { ref } from 'vue';
import BaseLayout from './BaseLayout.vue'
const count  = ref(0)
</script>

<template>
  <BaseLayout>
    <!-- 具名插槽 -->
    <template #header>
      <!-- 插槽内容 -->
      <h1>Here might be a page title,{{count}}</h1>
    </template>
<!-- 默认插槽,会默认添加一个#default -->
    <template #default>
      <p>A paragraph for the main content.</p>
      <p>And another one.</p>
    </template>

    <template #footer>
      <p>Here's some contact info</p>
    </template>
  </BaseLayout>
</template>
vue
<template>
  <div class="container">
    <header>
      <!-- 插槽出口 -->
      <slot name="header"></slot>
    </header>
    <main>
      <slot></slot>
    </main>
    <footer>
      <slot name="footer"></slot>
    </footer>
  </div>
</template>

<style>
  footer {
    border-top: 1px solid #ccc;
    color: #666;
    font-size: 0.8em;
  }
</style>
但是如果想要插槽可以访问到子组件的某个状态,我们就需要使用类似于props这种方法,将需要的值传过去
vue
<MyComponent v-slot="slotProps">
 {{slotProps.text}}
  {{slot.count}}
</MyComponent>
vue
<div>
  <slot :text="greetingMessage" :count="1"/>
</div>
子组件传入插槽的 props 作为了v-slot 指令的值,可以在插槽内的表达式中访问。
参考链接:vue slot
知识点2 Transition组件
用于过渡效果的组件
- 仅支持单个元素或者组件作为其插槽内容。如果有一个组件,那么组件必须有一个根组件。
- 支持命名,传一个name的prop来声明,那么就不用v来作为前缀,需要用name
vue
<Transition name="fade">
                          ...
</Transition>

<style>
// 那么style里面写class,就需要用name
.fade-enter-active{}
</style>
知识点3 动态组件
vue
<!-- 可以理解为插槽,component就是一个组件选项对象-->
<router-view v-slot="{ Component }">
  <transition name="slide-fade" mode="out-in">
    <keep-alive :include="alive">
      <component :is="Component" />

    </keep-alive>
  </transition>
</router-view>
在这边Componnet就是一个组件选项对象,就是你要渲染的组件。
知识点4 导航守卫
vue
beforeRouteEnter (to, from, next) {
    next(vm => {
      vm.$router.replace(from).then(() => {})
    })
}- next:控制路由跳转的行为
- next():直接跳转
- next(false):中断不会跳转
- next(error)
- to:即将进入的目标
- next:当前导航正在离开的路由
- then():会在路由跳转完成之后执行
vue的挂载
加载渲染:父组件先创建,然后子组件创建;子组件先挂载,然后父组件挂载
plain
父beforeCreate-> 父create -> 子beforeCreate-> 子created -> 子mounted -> 父mounted销毁过程:
plain
父beforeDestroy->子beforeDestroy->子destroyed->父destroyedvue3中的name如何使用
一般vue3是可以根据文件名自动推导出name属性的。也就是说,假如组件为MyComponnet或者my-componnet,那么name就是MyComponent
用于在Keep-alive中使用
- 可以额外添加一个script标签,然后将他暴露出来
vue
<script>
  export default {
    name: "MyComponent"
  }
</script>

<script setup>
...
<script>- 使用插件
unplugin-vue-define-options